Equipment and procedures

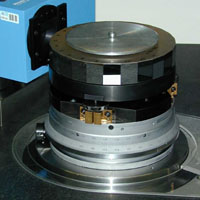
The national standard for angle measurements at METAS consists of an air-bearing rotary table. The measuring system has a resolution of 0.035". Driven by a friction wheel and a piezo actuator for fine positioning, the table can be numerically controlled. By the use of self-calibrating methods in combination with an indexing table and an optical polygon the table is numerically corrected, achieving thus an accuracy of better than 0.1". The angle measuring table described is the basis for the calibration of angle standards, such as angle block gauges, optical polygons, indexing tables and incremental encoders.
• OFMETinfo 1996_2 (Winkelmessung am EAM Teil 1) (PDF, 136 kB, 06.07.2020)
• OFMETinfo 1996_3 (Winkelmessung am EAM Teil 2) (PDF, 165 kB, 06.07.2020)

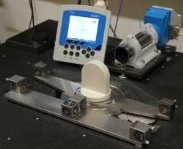
Small angles are preferably generated with sine bars, i.e. by the ratio of two lengths. These are used to calibrate electronic levels or autocollimators. An angle interferometer, which can be mounted on the numerically controlled rotary table, provides a resolution of 0.008" and thus allows for the calibration of autocollimators in a large range. A 200 mm long mirror bar made from Zerodur, supported on a flexure pivot and driven by a piezo-electric actuator can generate rotational angles in a range of ±7" and 0.001" resolution for highest accuracy applications.

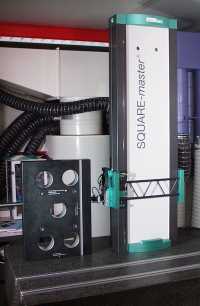
Squareness standards are calibrated - dependent on their application - either in horizontal position on the angle measuring table in combination with the straightness guide or in vertical position using an air bearing squareness column. In all cases error separation techniques are applied in order to be independent of any external reference and to achieve smallest possible measurement uncertainties.
• OFMETinfo1999_3 (Geradheits- und Rechwinkligkeitsmessung am EAM) (PDF, 1 MB, 24.09.2024)
Last modification 24.09.2024
Contact
Federal Institute of Metrology
Laboratory Length, Nano- and Micro-Technology
Lindenweg 50
CH-3003
Bern-Wabern
T
+41 58 387 01 11

